Page 3 of 6
Re: My first elite build
Posted: Mon Sep 09, 2013 10:51 pm
by refl3x
have the same dremel, use it all the time good choice!
Re: My first elite build
Posted: Fri Sep 13, 2013 12:42 am
by bfowler
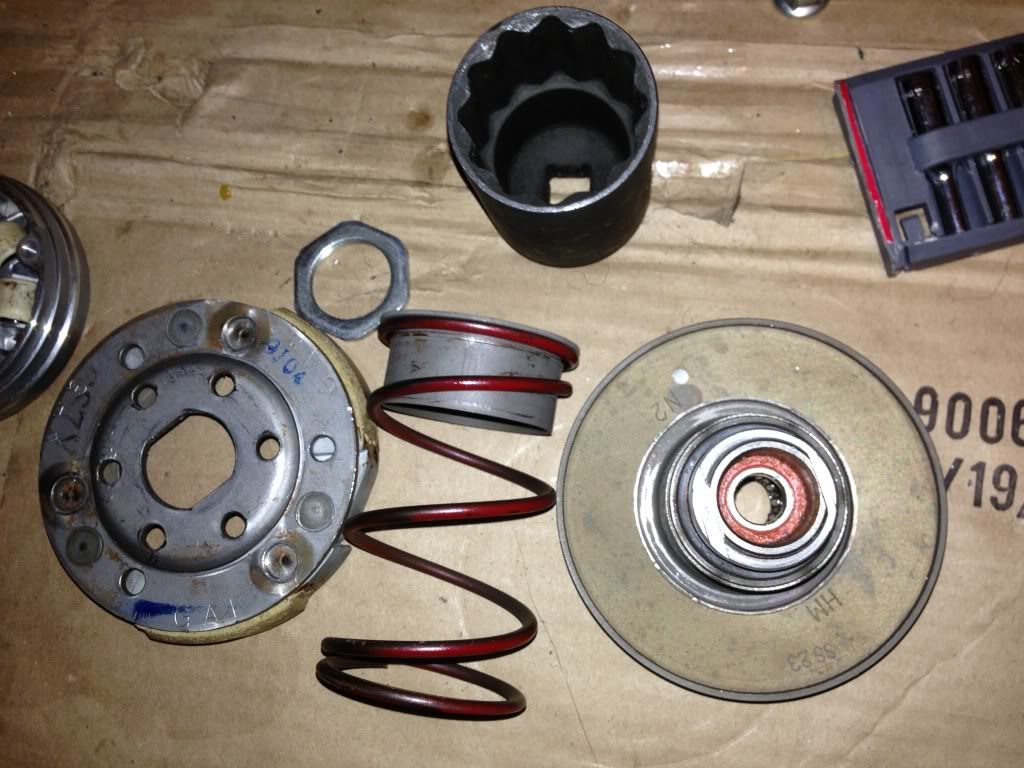
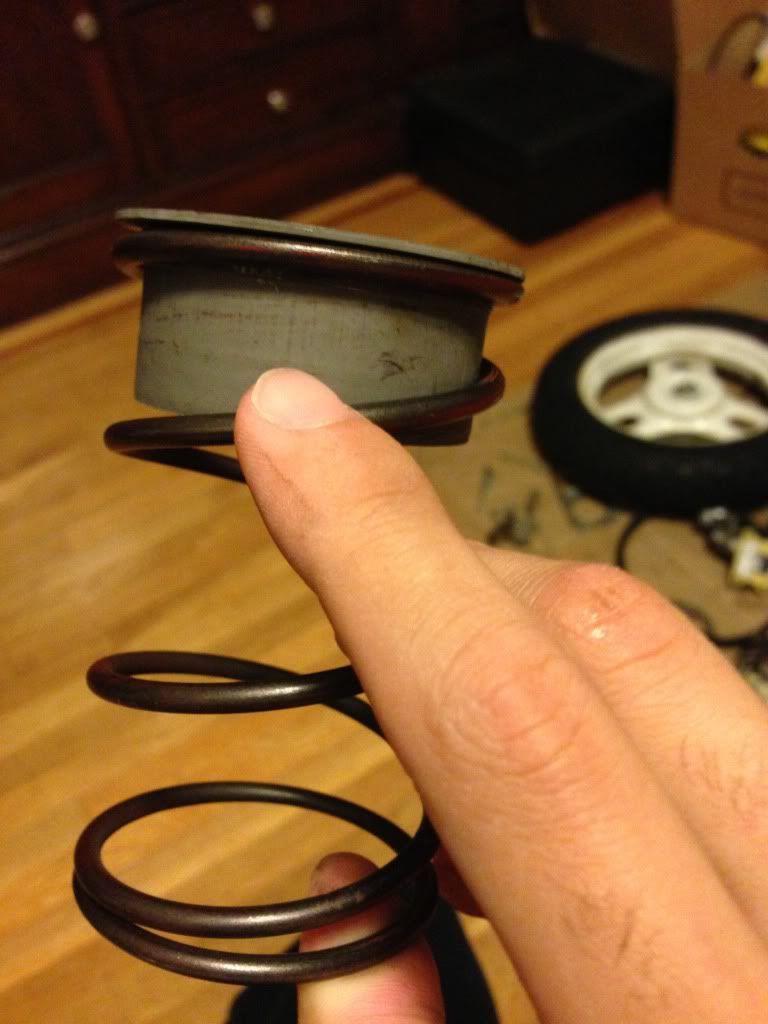
Well just waiting on my new flywheel puller. Hopefully it comes in this weekend. In the mean time I got the clutch broken down using the 39mm socket I ordered on amazon. Ill be replacing the current springs with 1k center and 2k clutch springs. Should I run the 1k center or should I up it to a 1.5k? And does the greyish thing in the current stock center spring need to be put into the new center spring? I'm assuming yes. You can see it in my picture below where I'm pointing.
Re: My first elite build
Posted: Sat Sep 14, 2013 9:36 am
by kingearwig
So I take it that, yes, you are planning to split the case and match the boost ports since you're getting the fly wheel puller?
Re: My first elite build
Posted: Sat Sep 14, 2013 1:21 pm
by bfowler
Hmmmmm no not match the boost ports. They look like they're already pretty similar. I'm just going to open up the intake ports.
Re: My first elite build
Posted: Sun Sep 15, 2013 12:33 am
by bfowler
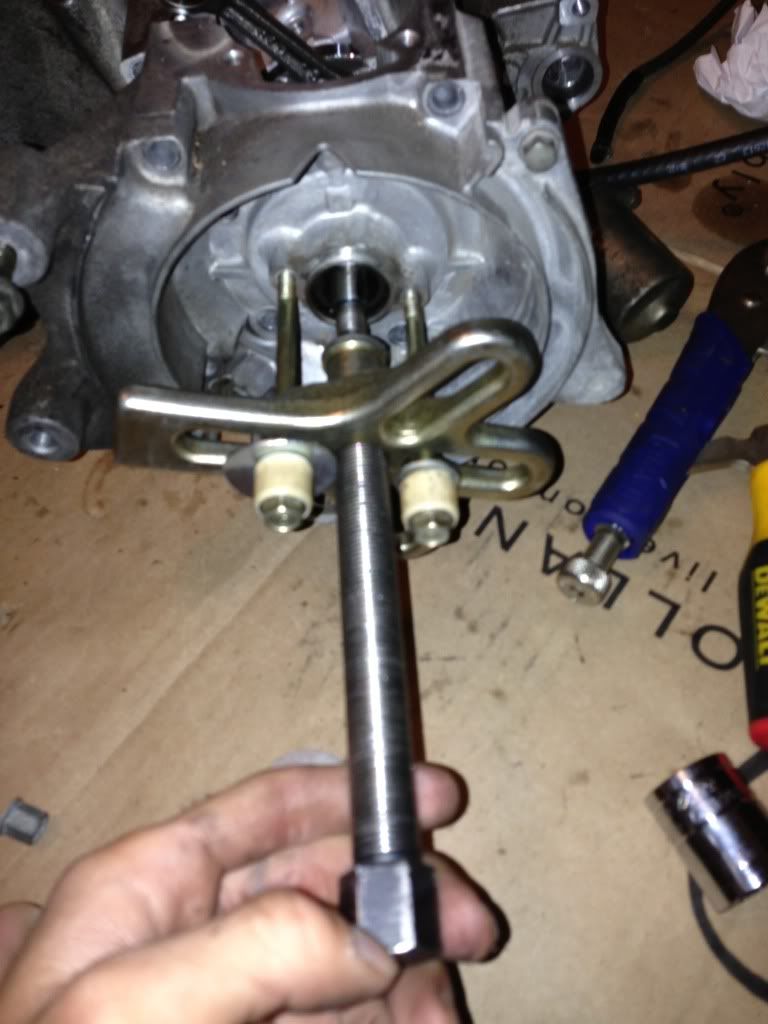
Well my flywheel puller came in today so I got to work. Pulling the flywheel was simple, just turned it and off came the flywheel. I then went down to oreillys and got the harmonic balancer puller kit from the loaner program. Cases split very easily. Used the head studs to thread into 2 holes on the engine case side and it popped off really easily. Here's some pictures in case anyone is wondering how I did it.

And here's how the motor currently in. Now the next step is taking the crank out of the other side.
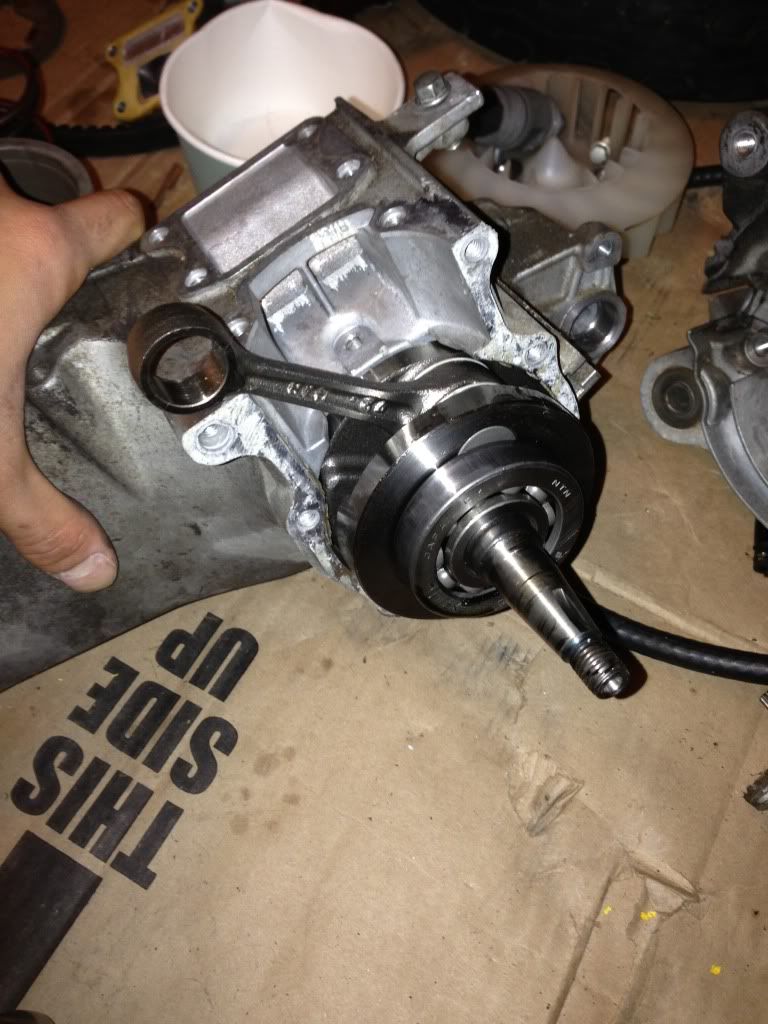
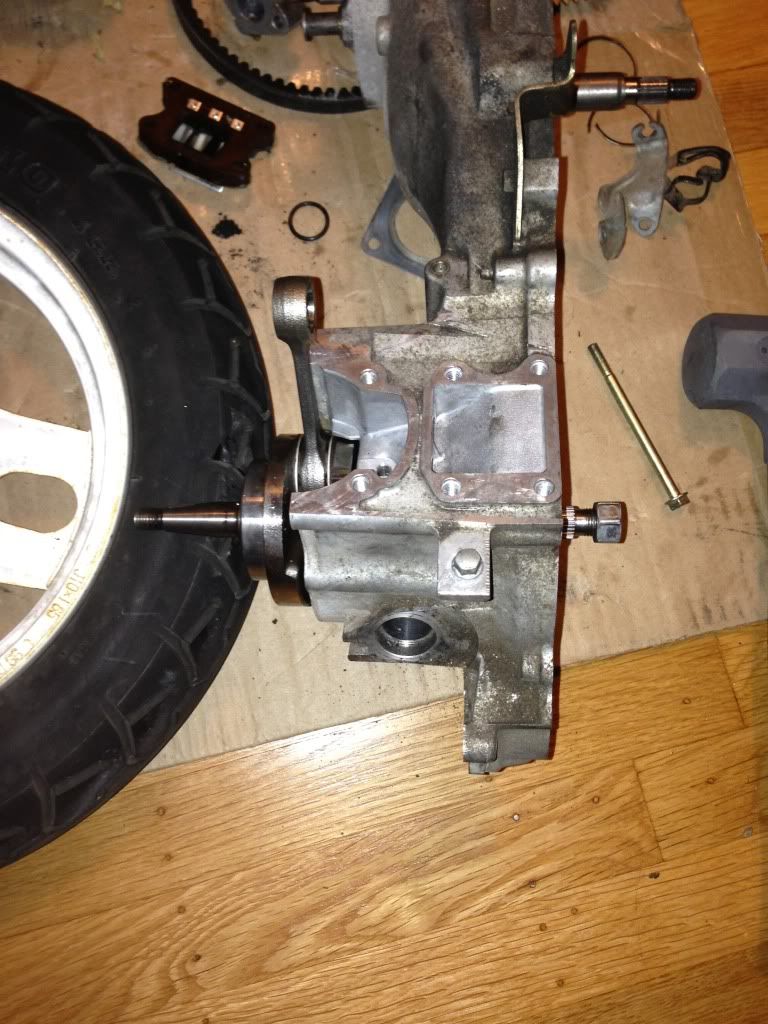
So how should I go about this? I know I can just thread a nut on the end of the crank and just give it a couple of hits with my hammer and it will pop out. Is this a good method? I'm going to be reusing the crank so I don't want to damage it. How should I get it out of the other case side? Thanks!
Re: My first elite build
Posted: Sun Sep 15, 2013 12:52 am
by paulpauly7
use a rubber mallet or get a mate to hold a piece of wood over the end of the crank and hit the wood .That way you wont damage the crank . Oh nice work

:-)
Re: My first elite build
Posted: Sun Sep 15, 2013 1:27 am
by Trafficjamz
paulpauly7 wrote:use a rubber mallet or get a mate to hold a piece of wood over the end of the crank and hit the wood .That way you wont damage the crank . Oh nice work
:-)
Yup.... what he said.
Re: My first elite build
Posted: Sun Sep 15, 2013 7:17 pm
by bfowler
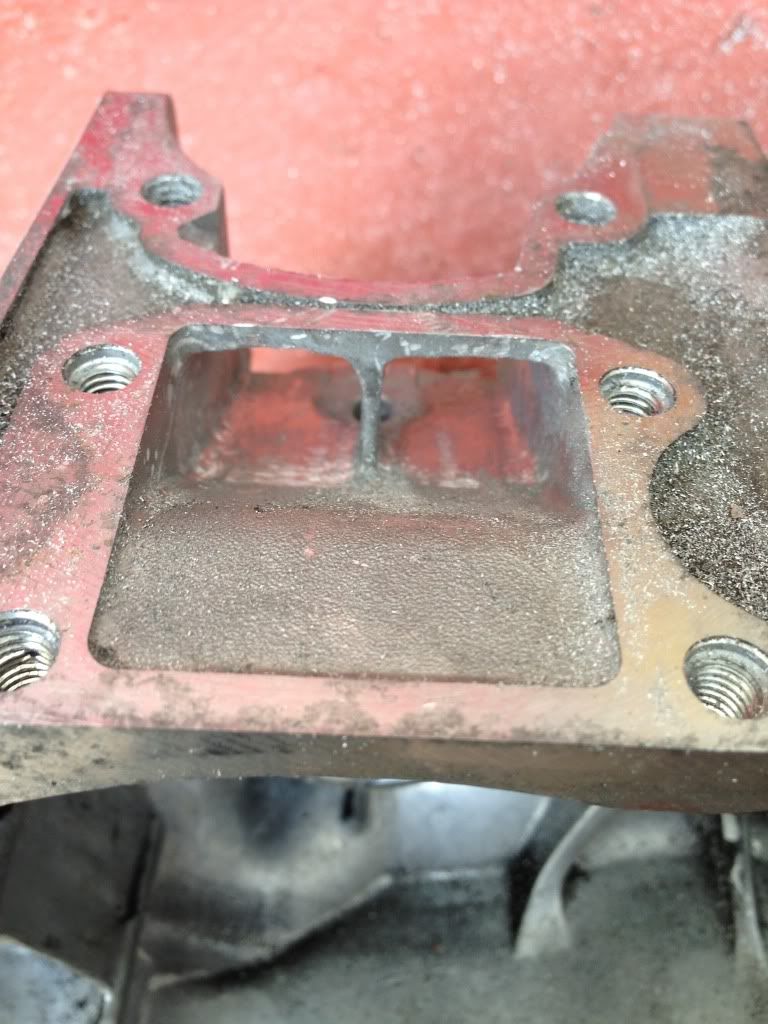
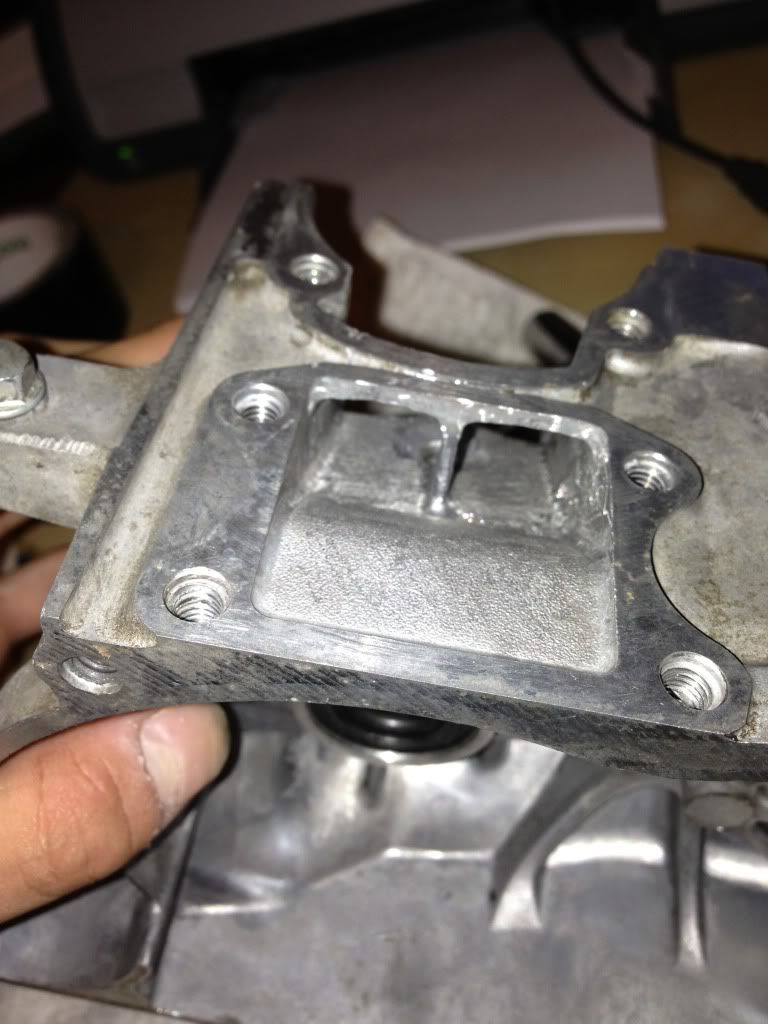
Well I threaded the nut on the end of the crank shaft and gave it a good wack and out came the crank. Went and opened up the intake ports today. Here's what I've got so far. Do you guys think I should open it up some more or should I leave it as is and start sanding to get it smooth. I already went in with my old emery board and its pretty smooth as is. Just got back from the hardware store and got some sand paper ready to finish smoothing it out. But, I just want to make sure I opened it up enough. Judging from the pics, what do you guys think? Thanks.
Re: My first elite build
Posted: Sun Sep 15, 2013 9:24 pm
by patthesoundguy
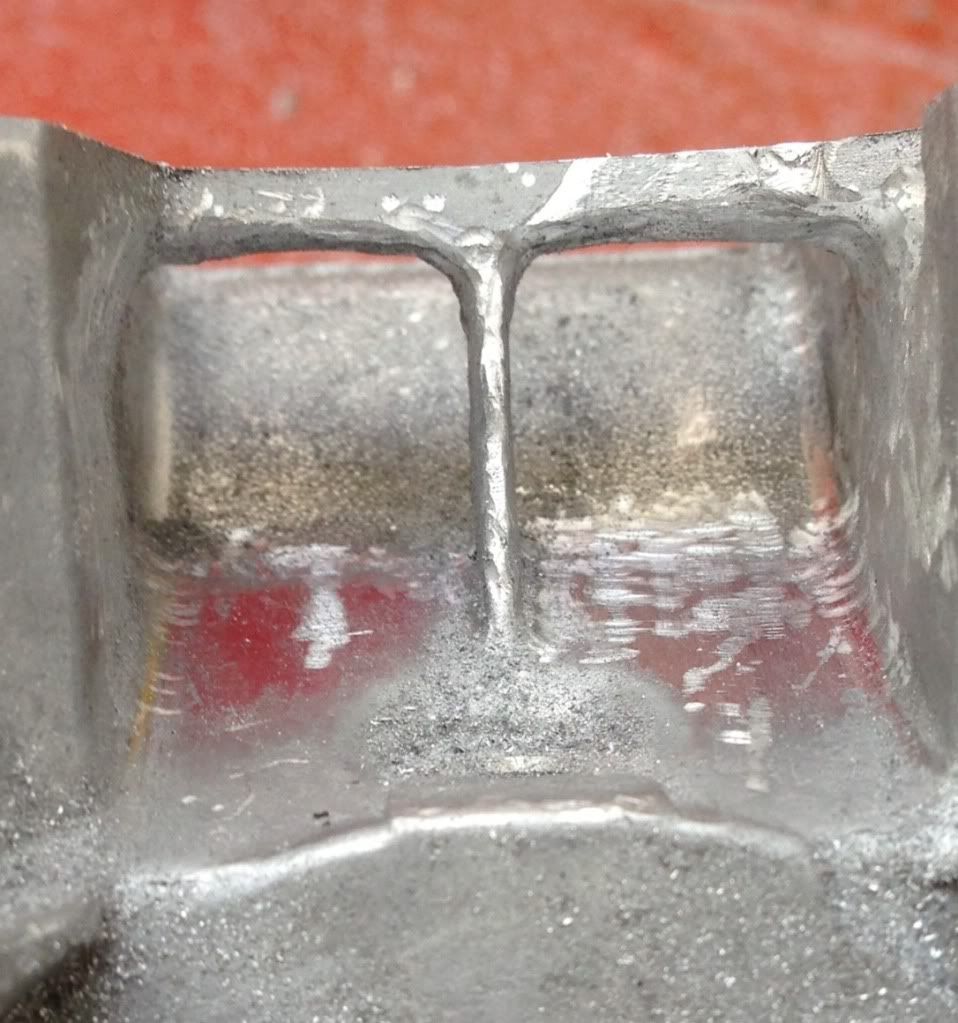
Looks pretty good, the only thing you need to do is put that cats tongue finish on the whole area. You have a couple real shiny areas and the rough finish helps to keep the fuel from forming droplets by promoting evaporation keeping the fuel in a gaseous state in the mix
Sent from my Nexus 7 using Tapatalk 2
Re: My first elite build
Posted: Sun Sep 15, 2013 9:47 pm
by bfowler
So how do I go about putting the cats tongue finish on it? I was about to go in with some 80 grit sand paper and make it all smooth. Thanks.
Re: My first elite build
Posted: Sun Sep 15, 2013 10:14 pm
by patthesoundguy
I just use a stone on the dreml and make it rough like the scar lines you have that the dreml left.


I don't know if you can see inside that intake very well but that's the look you are going for. The 80 grit emery might give the finish you need, possibly 50 grit and rub in circles might do a good job. As long as its not shiny and feels like a cats tongue
Sent from my Nexus 7 using Tapatalk 2
Re: My first elite build
Posted: Sun Sep 15, 2013 10:55 pm
by paulpauly7
nice job dude
Re: My first elite build
Posted: Mon Sep 16, 2013 12:20 am
by bfowler
Well following pats wonderful advise, went back in there and added in the cats tongue finish on the intake. Fairly pleased with how my first attempt at using a dremel went. Just glad nothing went horribly wrong haha.
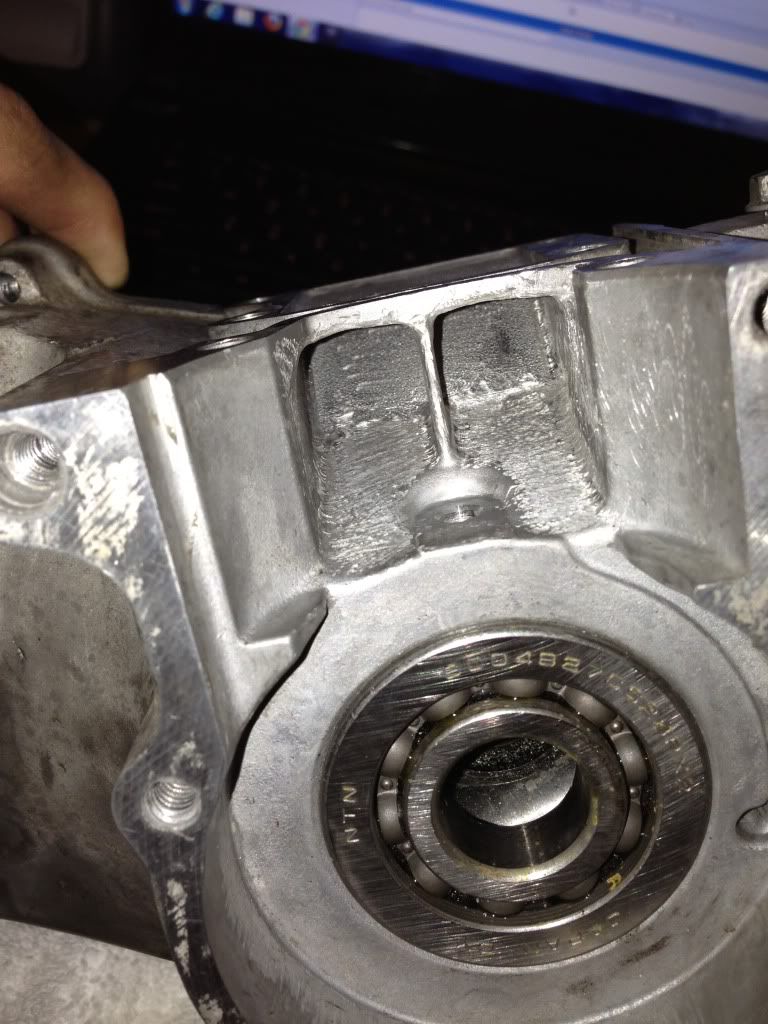
Now the next step is to get this stuck bearing out of the case. Been trying to pry it out using a socket but I'm afraid its going to break my wrench. Also need to get the seal out on the other side.
Re: My first elite build
Posted: Mon Sep 16, 2013 12:58 am
by bfowler
Well got the bearing out of the case as well as the seals and got everything washed up. Definitely glad I separated the cases before I ported the intake. There was so many little aluminum shards that the bearing couldn't even turn. I can definitely see why those little shards can do so much damage to the engine. Thats all for tonight. Don't think I need to do any more porting to this engine.
Hopefully tomorrow I can get down to oreillys and see if they can take the other bearing off the crank for me. Also need to get the 8.44 gears pressed on. Once the bearings and seals come in from Honda I'll be able to wrap this build up and start doing some heat cycles. Just wanna say thanks for all the help throughout this build.
Re: My first elite build
Posted: Mon Sep 16, 2013 2:21 am
by paulpauly7
did you remember that little triangle piece i told you about


